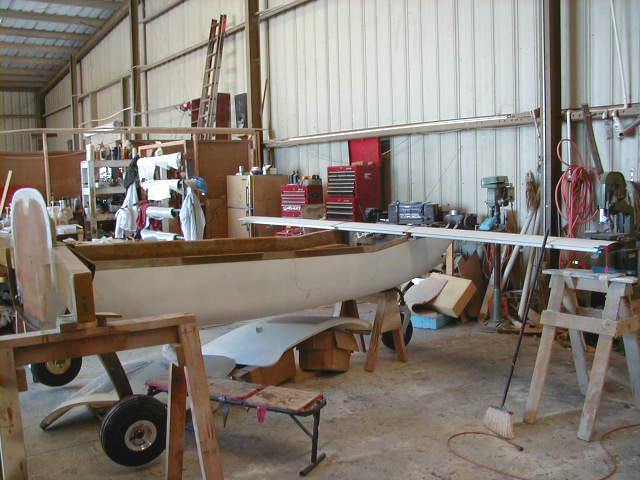


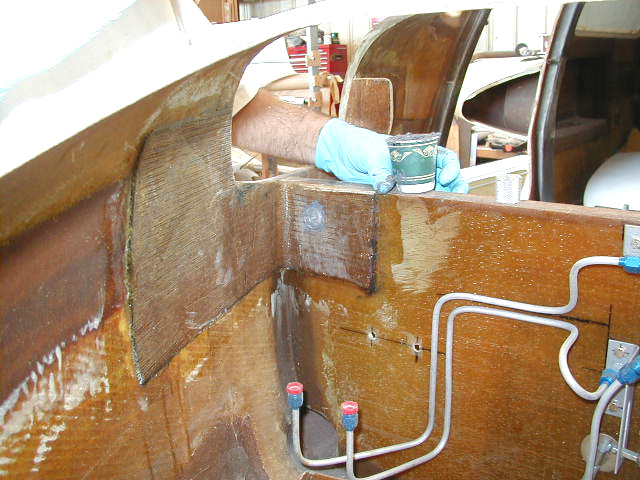

To place the canard, the lower fuselage was again precisely leveled and the canard set into position and adjusted to the correct angle of incidence.
April 2001 - returned to work on canard. Built various attach tabs, installed bushings.
Click on thumbnails to view larger versions of the pics!
|
|
|
|
|
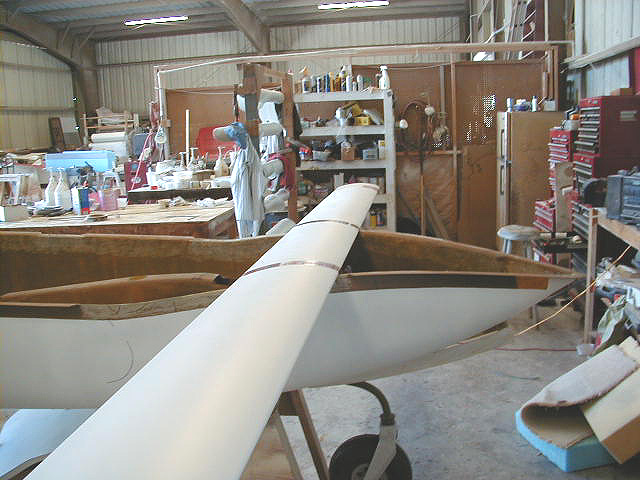
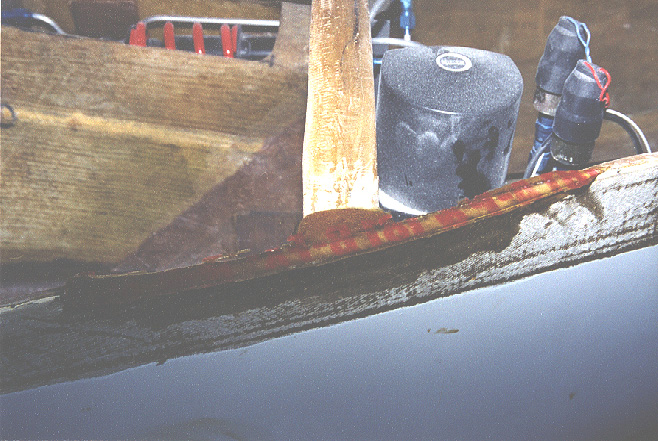
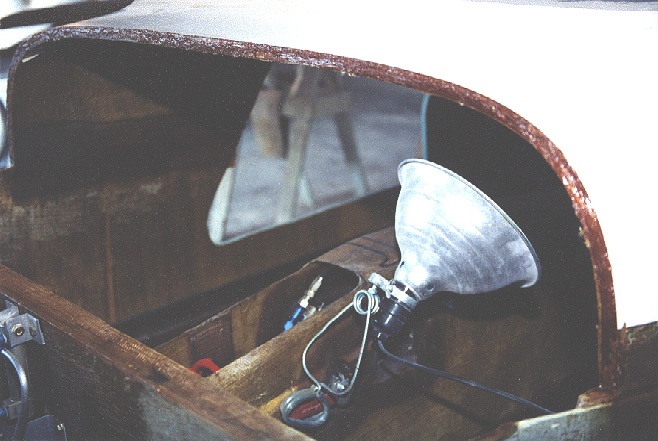
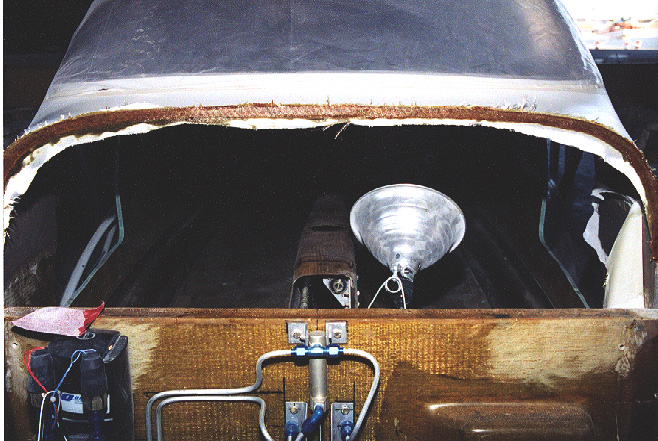
| Canard is fitted to lower fuselage after plane is again precisely leveled. | A bead of epoxy/milled fiber was laid on lower fuselage at contact points. Note tape placed around canard. This will be used to release the carnard from the epoxy from below and above when the upper portion of the fueselage is installed. | Closeup of the copilot canard bed. canard bulkhead bisects the photo with hydraulic pump in nose section seen on right and keel on left. The canard bed is now shaped so as to result in the correct angle of incidence when the canard itself is dropped into position and bolted down. | Canard cover is removed after the upper fuselage is installed. The canard and entire upper nose section is then lifted off. |
|
|
|
|
|
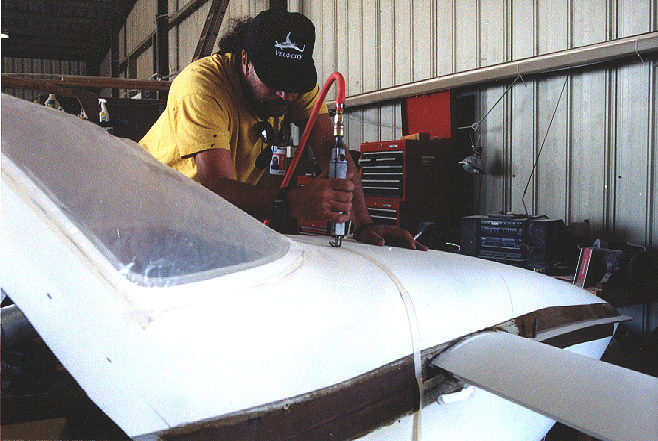
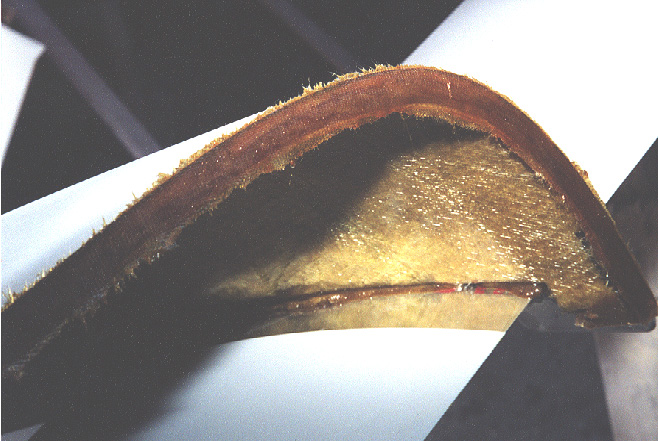
| S-Glass fiber strands (AKA "Horsey tail") used to create reinforcing "arches" in upper fuselage and canard cover. | A dremel tool was used to hollow out a half inch of foam in the upper fuselage edge at the point the canard cover was removed. | Epoxy soaked "horsey-tail" with each strand full length from side to side was laid into the groove. This creates an arch for further support after cutting into the upper fuselage. This same process is applied to both edges of the canard cover and the foremost portion of the upper fuselage yeiding four separate arches to strengthn this part of the plane. | A layer of fine BID applied to cover the arch in the fuselage. |
|
|
|
|
|
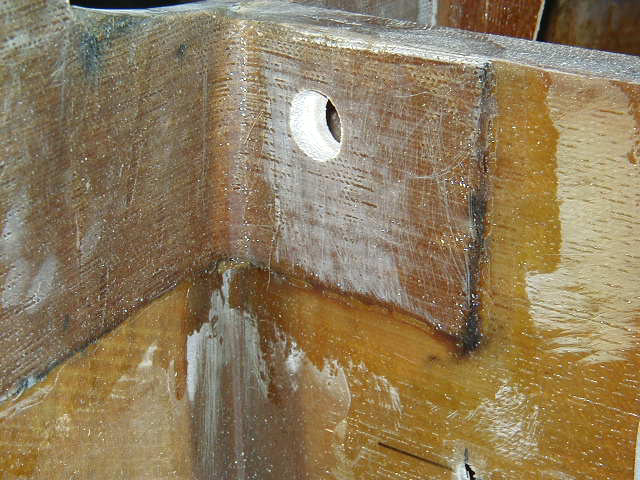
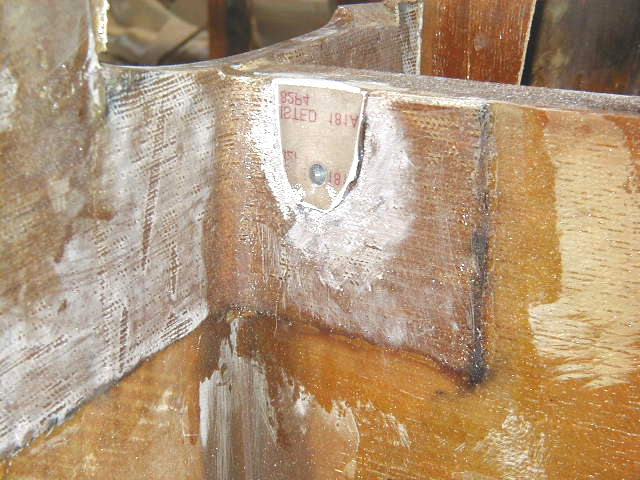
| An identical process performed on the forward section of the upper fuselage. A dremel tool was used to hollow out the foam between layers of the fuselage. | A layer of fine BID overlaid onto the arch built into the forward portion of the upper fuselage. Canard seen running top to bottom through center of photo. Note release tape at contact point of upper fuselage to canard. | Canard torsion tabs seen attached to the upper surface of the canard. | April 2001 - Hole cut in canard bulkhead for bushing. |
|
|
|
|
|
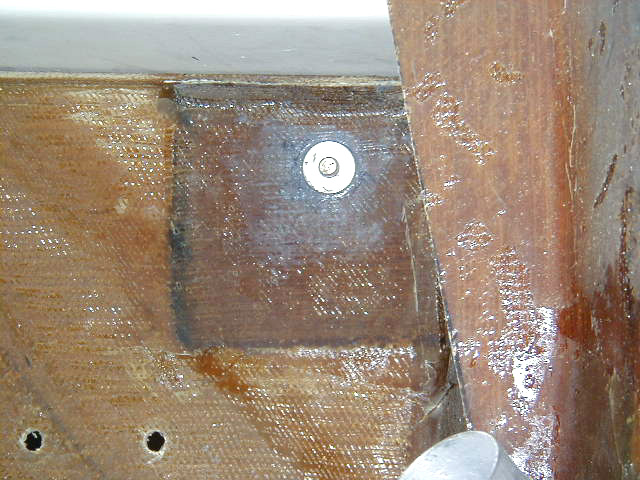
| Canard bushing installed with the help of "grey goo" structural adhesive. | Cured bushing set in place. | Forming canard attach tab bed. A layer of epoxy /milled fiber is built up, the canard is set into place leveled and set to the correct incidence as it is pressed into position at this point. This, when hardened, will form a bed for attaching the canard without a gap which will help hold the canard in the correct orientation. | A Hangar 18 special: Canard cover flanges. This will allow installation of weather stripping to provide a better seal against the elements for the nose section. The next picture shows the preparation of the canard cover. |
|
|
|
|
|
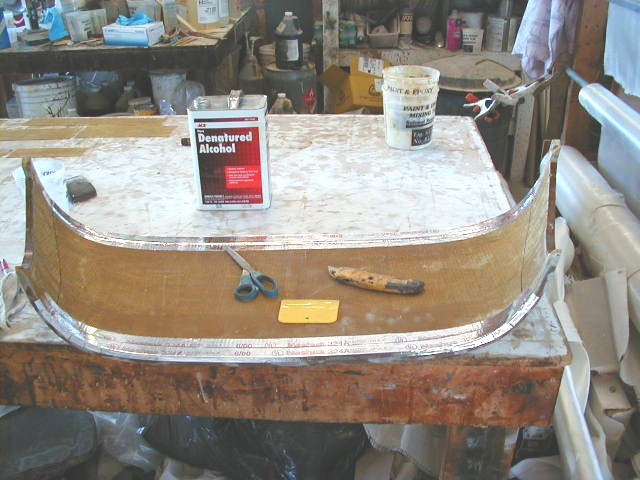
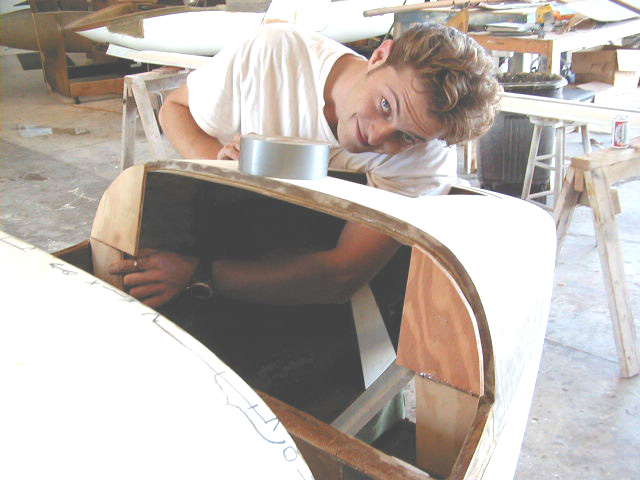
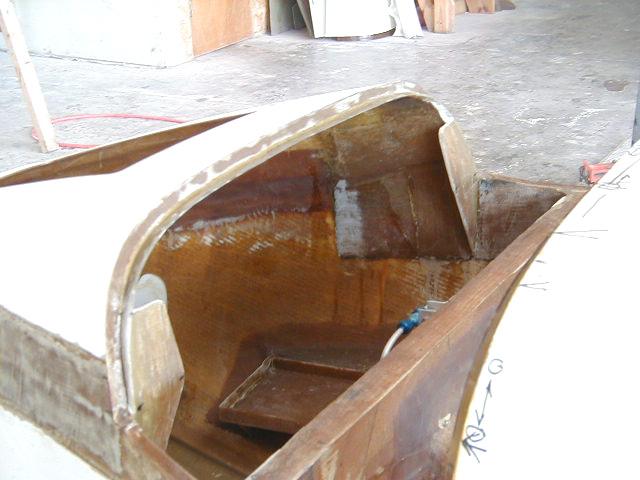
| Canard cover prepared. 0.090 Tool wax is rolled along the edges of the cover (it comes with a self adhesive backing) and aluminum tape laid over the wax. The canard cover is set in place in the fuselage and layups are made on top of the aluminum tape covered wax to form the flanges on either side of the nose. After the layups cure, the cover is removed leaving the flanges. Later, the flanges will be covered with 0.125 neoprene which will serve to seal the nose section from the elements. The use of the tooling wax insures a gap into which the neoprene will fit. The neoprene will compress appropriately and form a tight seal. | Jason inserting canard forward attach tab jigs over which layups to form the tabs will be placed. | Canard forward attach tabs layups done over the previously seen jigs. This will provide another attach point for the canard to support the torsional forces. This setup will allow the canard cover to be removed completely without unbolting the canard to allow easier access to the nose section and back of the instrument panel, thus obviating the need for the "Really Big Hatch" and enhancing the ease of maintainence. Note the canard cover flanges also. | Canard forward attach tabs added to the torsion tabs. |
|
|
|||
| Another view of the canard forward attach tabs. |
 Comments, questions, and suggestions are welcome! email: rich@rguerra.com
This page visited times.