


Click on thumbnails to view larger versions of the pics!
|
|
|
|
|
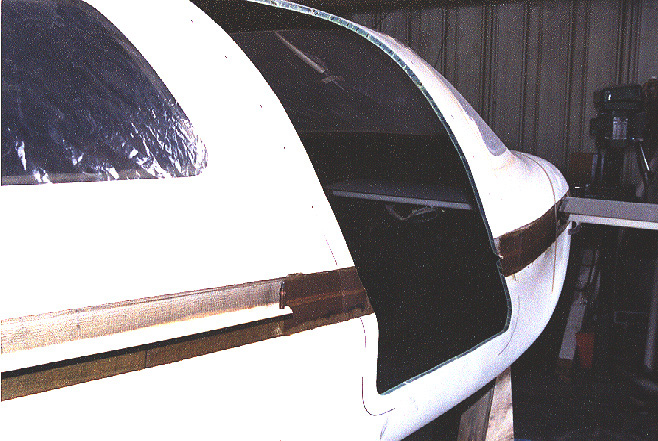
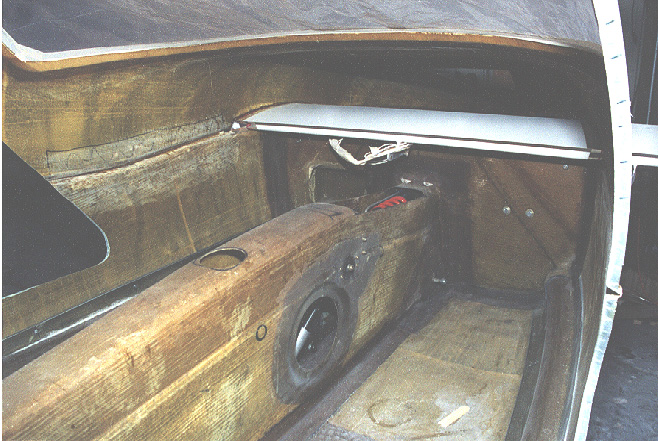
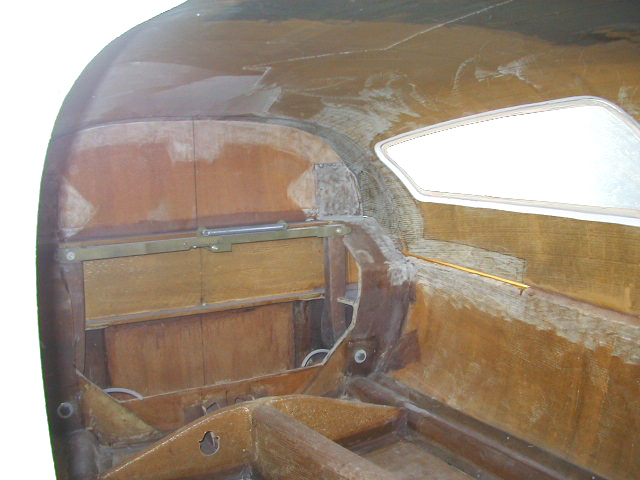
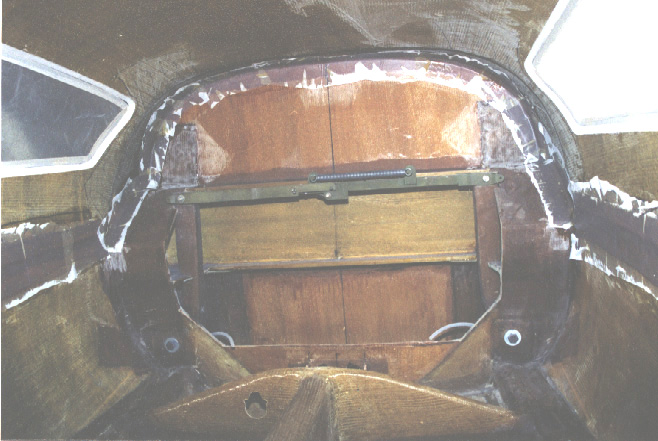
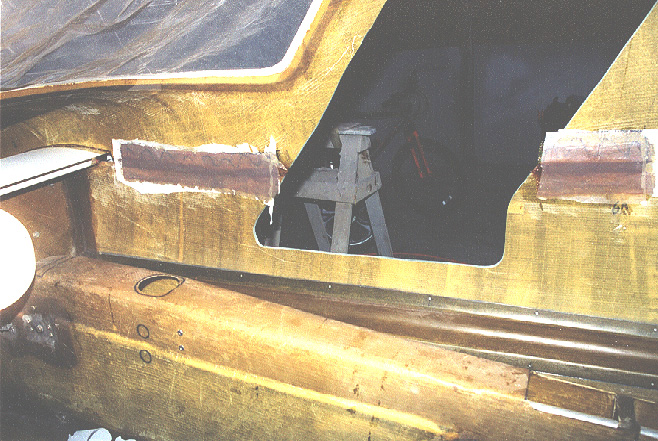
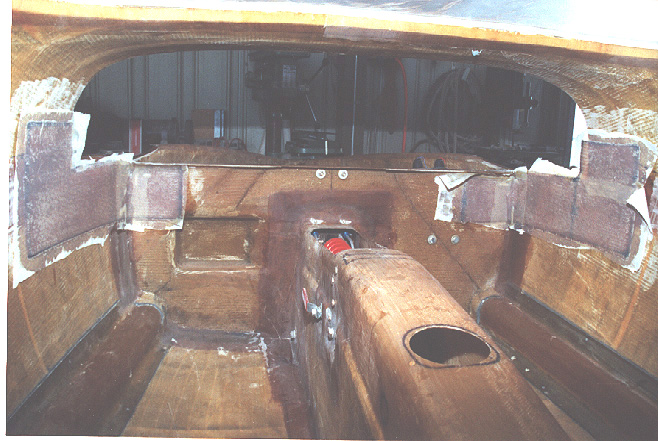
| Upper and lower fuselage mated and flanges removed. BID layups along side used to bond halves on outside. Note remnant of flange with clecos used to help hold pieces together. This area will be removed to form the opening for the baggage area in strakes. | Another view of now joined fusealge halves. The nose section is not permently attached yet as it will be removed with the canard as seen inthe next section. | Inner surfaces of fuselage sanded along join lines in preparation for fiberglass layups. | Inner surfaces of fuselage sanded along join lines in preparation for fiberglass layups in foward section of plane. Canard seen crossing center of photo. |
|
|
|
|
|
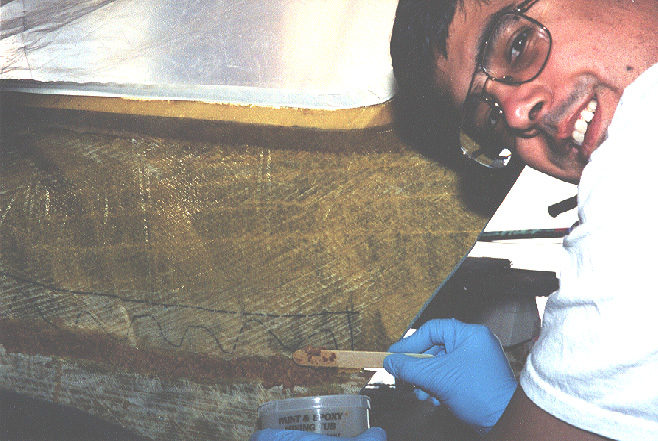
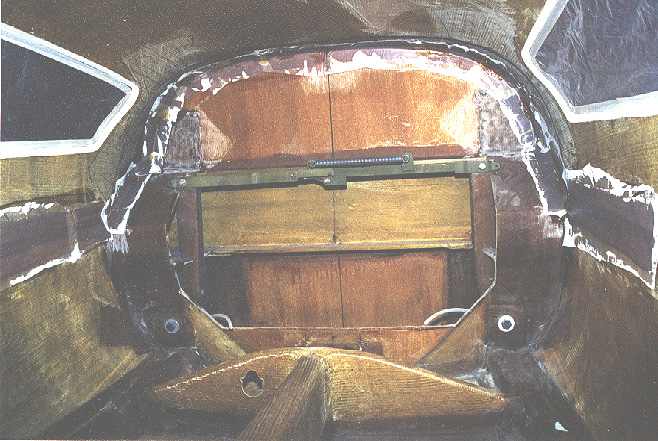
| Another view of firewall and aft section of plane now prepped for layups. | Epoxy, milled fiber and a touch of cabosil to prevent running used to fill in joints between upper and lower fuselage parts. | Layups joining fuselage with peel ply applied. | |
|
|
|
|
|
| Triax reinforcements connecting fuselage to firewall. | Tacking down peel ply over the reinforcement layups to canard bulkhead. The forward portion of the upper fuselage has already been removed as seen in the next section. | View of reinforcing triax layups tying fuselage halves to canard bulkhead. | |
|
|
|
|
|
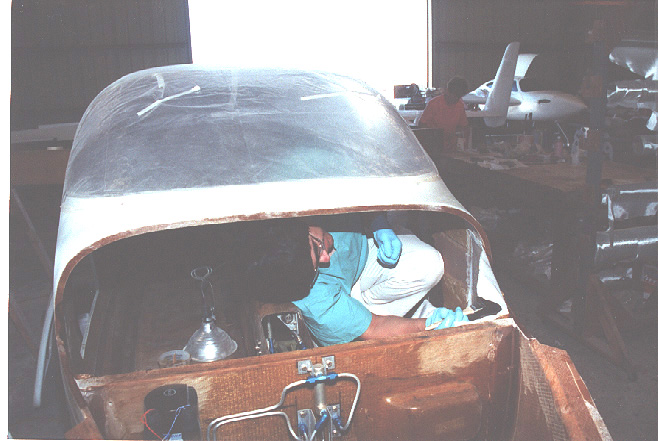
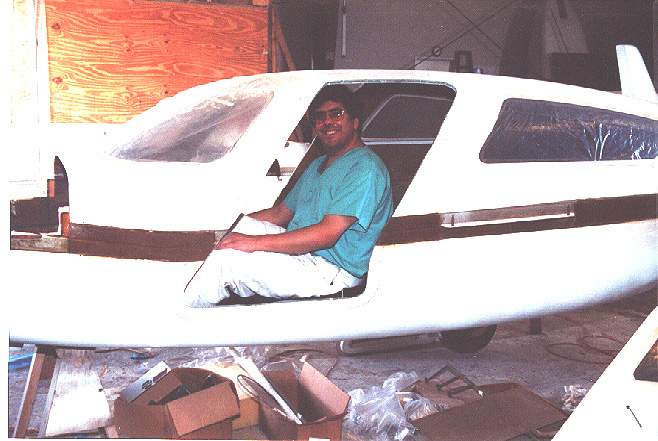
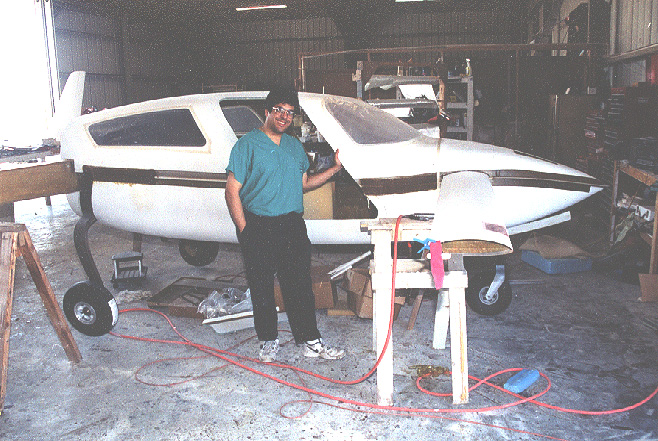
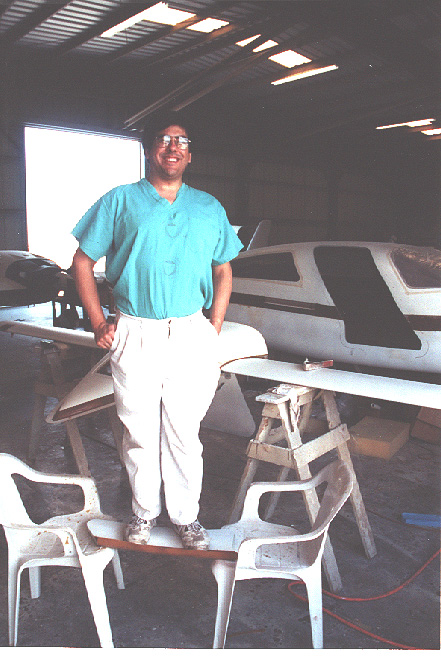
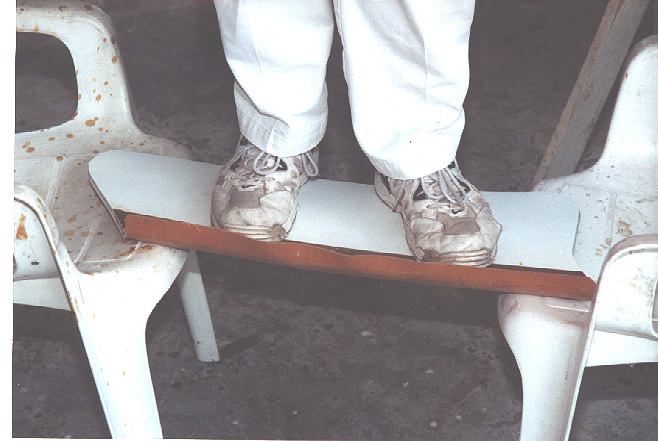
| Making plane noises in something that actually now looks like a plane! Too bad the bean bag can't be permanently installed! | This year's holiday card! | Just for the doubters out there: I'm standing on a piece of fuselage removed to form the door cutout. It's thin and, as I am not exactly a lightweight, very strong. | No trick mirrors here! |
 Comments, questions, and suggestions are welcome! email: rich@rguerra.com
This page visited times.