


The photos below are arranged chronologically and illustrate the process of building the fuel cells and sealing the strakes. See the "Systems Work" Section to see the final installation of Vance Atkinson Sight gauges and the installation and testing of the fuel cells and lines
Click on thumbnails to view larger versions of the pics!
2015 cheap best swiss rolex,panerai,iwc,hublot,tag heuer,breitling,patek philippe,omega Constellation watches,omega DeVille watches,omega Seamaster replica,top quality bvlgari,cartier,chopard,corum,franck muller,longines,tissot,u-boat,ulysse nardin,versace,glashutte,graham jaeger lecoutre.we also keep these watches entire brands:audemars piguet,breguet
|
|
|
|
|
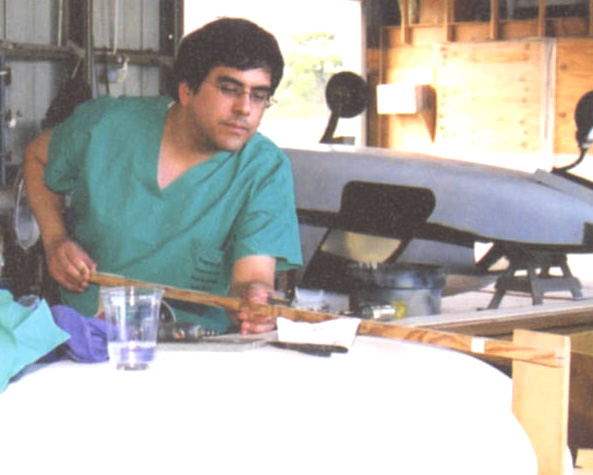
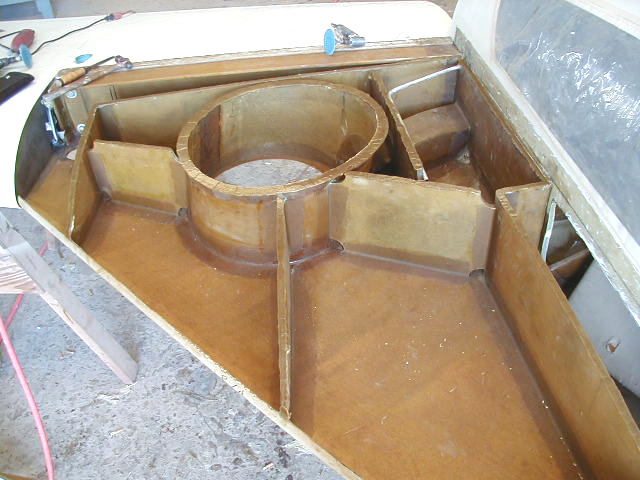
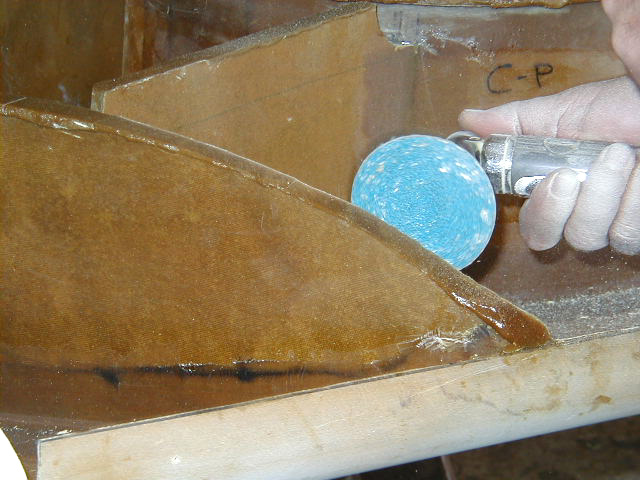
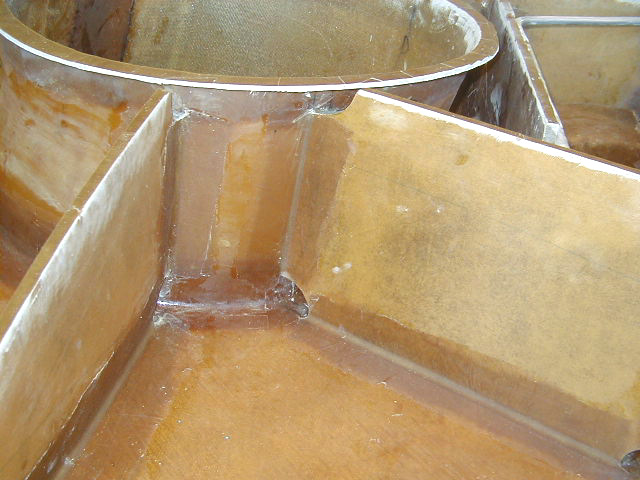
| Just prior to pre-bedding strakes, the plane was again leveled and the incidence of the wings checked using this guide. This way the strakes are built to mate to wings such that all surfaces are held in the correct orientation angles. | Preparation for pre-bedding of strake tops. Tops of baffles with foam hollowed out with a small dremel to allow application of epoxy. | Overview of baffles with top edges hollowed awaiting epoxy. | Generous amount of epoxy/milled fiber/cabosil applied along upper edges of baffles and wheel well. |
|
|
|
|
|
| Closeup of epoxy applied to bulkheads. Note generous amount in particular at leading edge of strake at top left of photo. | Note mound of epoxy on wheel well flange. | Preparing for pre-bedding of upper strake. Duct tape placed on previously inscribed marks corresponding to contact points of baffles and bulkheads. Upper strake is next laid down in position, taking care not to let it slidein any direction which would result in distortion of the underlying epoxy. | |
|
|
|
|
|
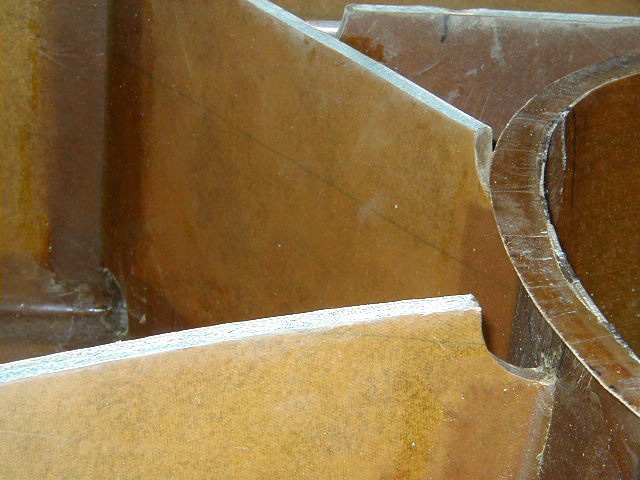
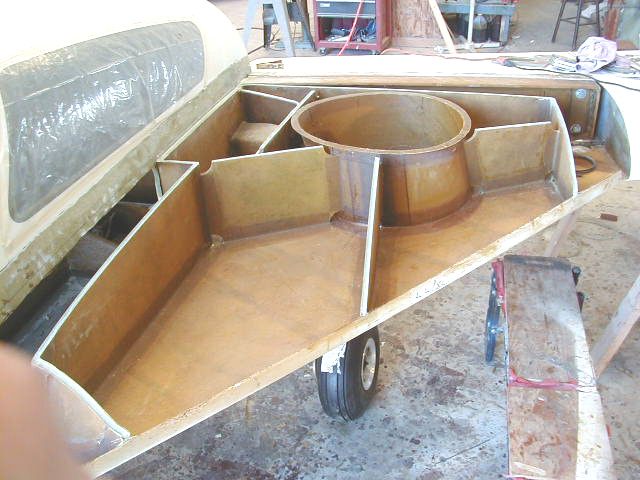
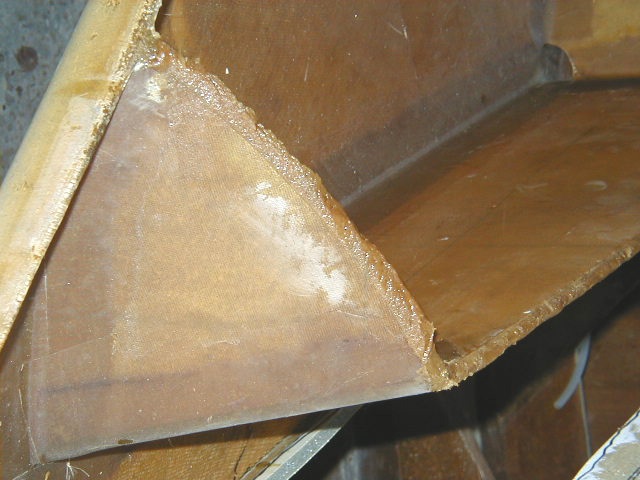
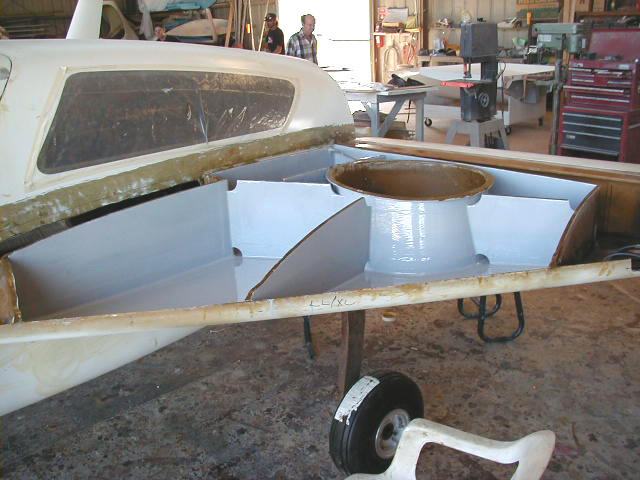
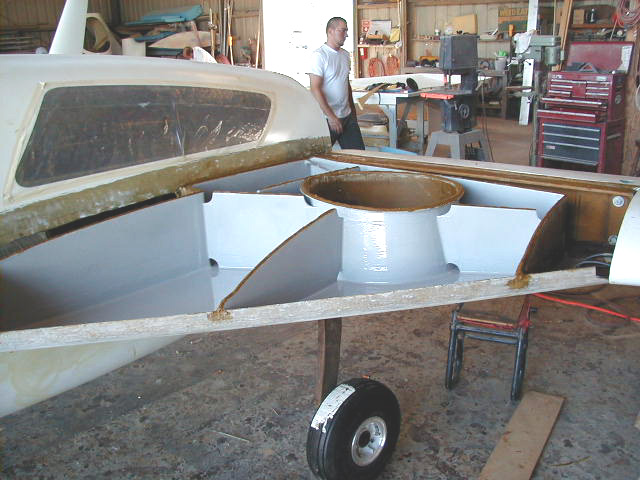
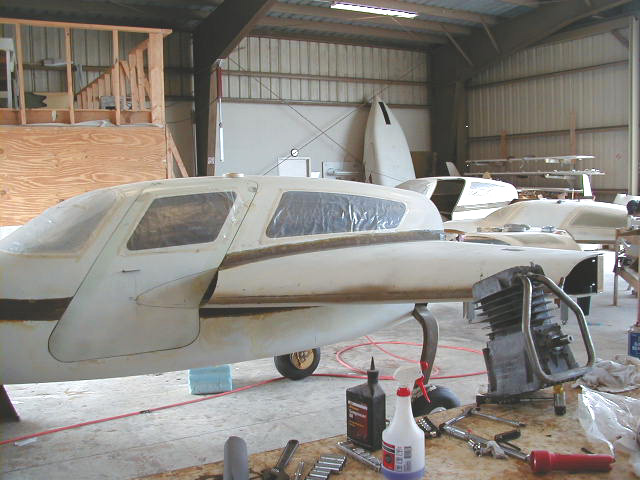
| Both strakes pre-bedded! Nose section of fuselage and canard temporarily in place to give sense of overall appearance of plane. | Pilot side strake pre-bedded. Note markings on door to precisely place the strake leading edge at the proper angle of attack. Leading edge held in place with wood screw. | Another view of the pre-bedded strake. | After pre-bedding, the epoxy is allowed to cure overnight and the upper strake carefully removed by sequntially prying up off the bulkheads and baffles. This leaves the upper surfaces of the bulkheads and baffles contoured to exactly match the underside of the upper strake. Any areas that did NOT contact the upper surface (and therefore could potentially leak) will be clearly revealed and can be filled in with more epoxy before proceeding. Note contours of upper edge of baffle at leading edge. Also note goo squeezed out to sides of baffle. All of the excess epoxy was ground off (debris littering floor of strake already) thus removing dead weight that would otherwise have been left in tank. |
|
|
|
|
|
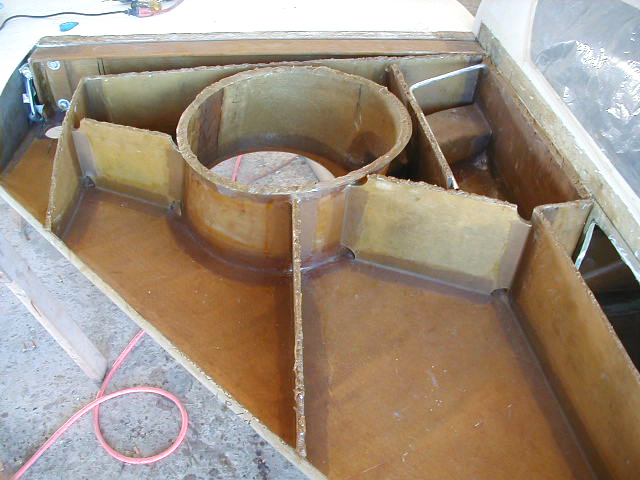
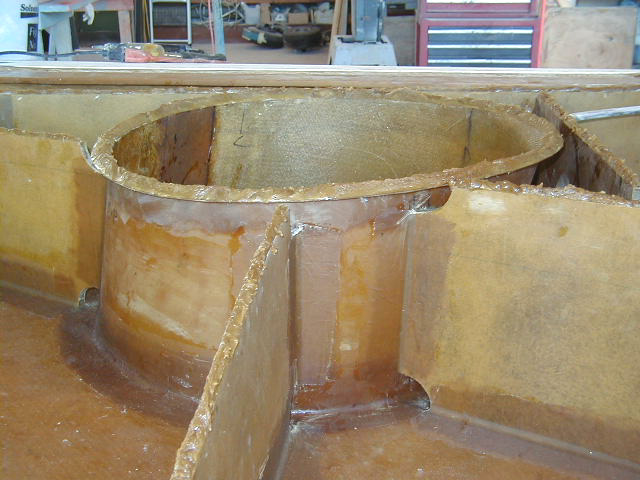
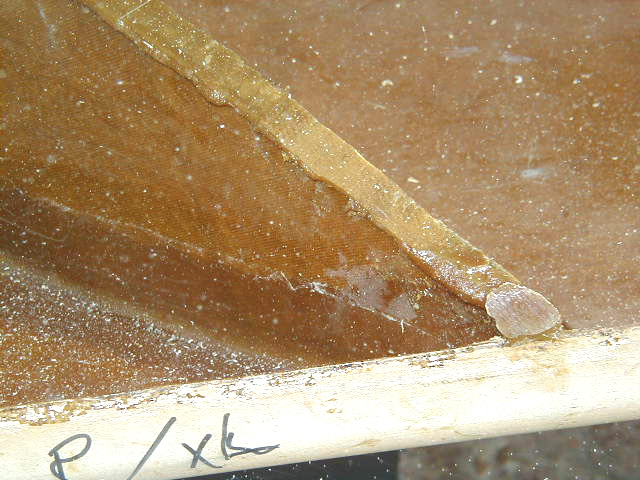
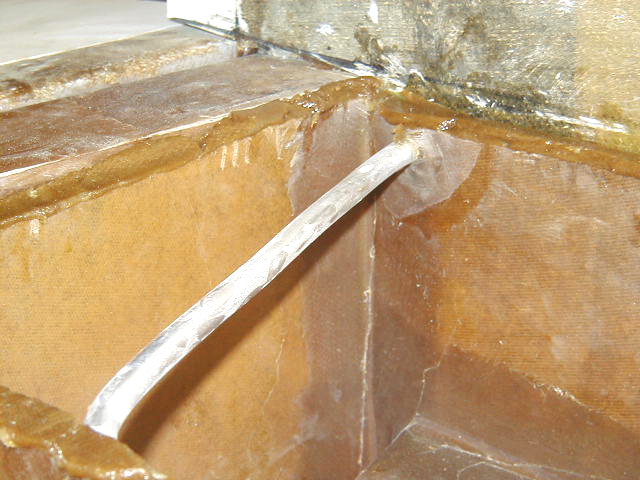
| Overview of upper edges of bulkheads of baffles and bulkheads before cleanup. | Closeup of probable leak after pre-bed. Note uneven area of upper baffle edge near leading edge of strake where there was no contact with upper surface. If this were the only application of epoxy to install upper strake, there almost certainly would have been a leak. This area will be filled in before final bedding. Again, note excess epoxy squeezed inward off top of baffle, all of which was ground off. | Another potential leak seen in corner of tank near the upper center of the photo. This would have been very difficult to fix. Air vent line seen running across center of photo. | Grinding off excess epoxy from edges of baffles and bulkheads. |
|
|
|
|
|
| Pre-bedded upper edges of baffles and bulkheads after cleanup. | Another view of cleaned up fuel cell bulkheads. | Closeup of cleaned up structures. | Jeffco painted on all inner surfaces that will come into contact with fuel. The peel-ply texture on all coated surfaces left no lumps or bumps or uneven texture, just an even, glossy coating. |
|
|
|
|
|
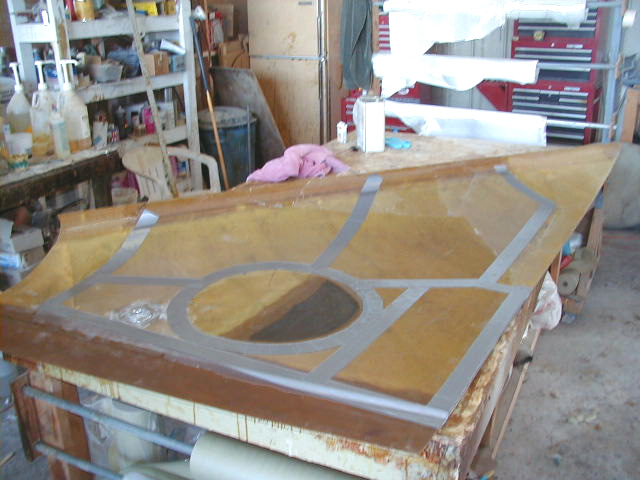
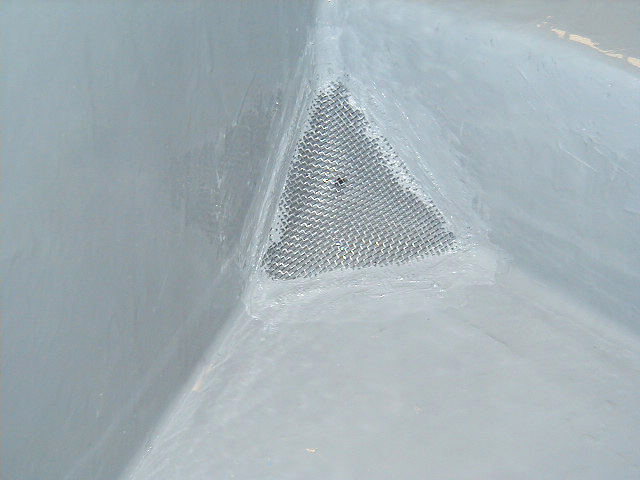
| Jeffco sealant painted on upper strake inner surface. Note contact points left untreated. | Strainer screen installed over primary fuel pickup. | Strainer screen installed over secondary fuel pickup. | The final step!! A bead of epoxy placed on all upper contact points. Since any low, non-contacting, points had been filled in and the upper edges of the baffles and bulkheads are contoured to match exactly he inner surface of the upper strake, it doesn't take a tremendous amount of epoxy to make a good seal. |
|
|
|
|
|
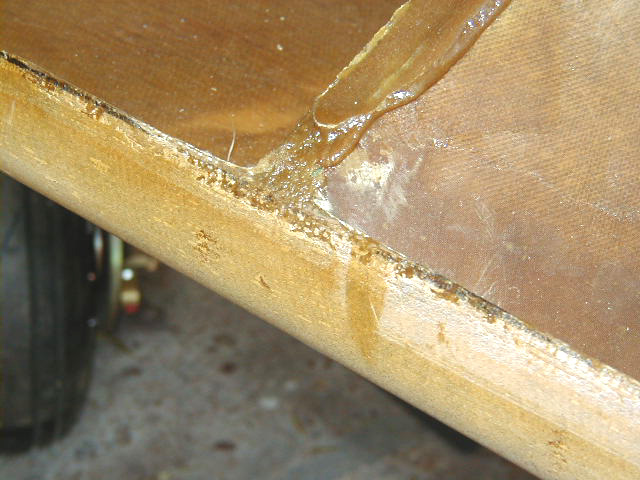
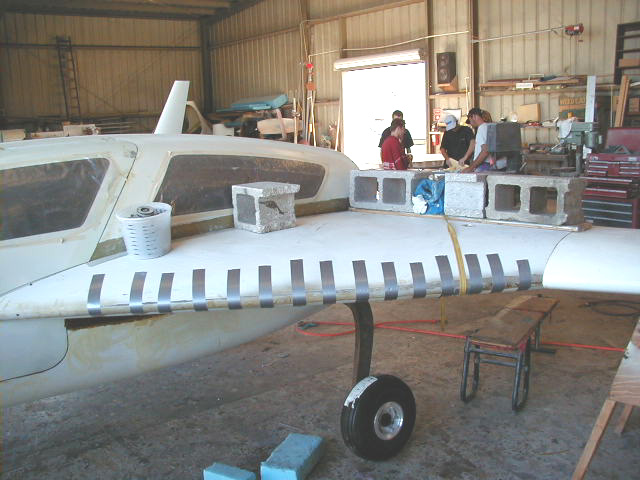
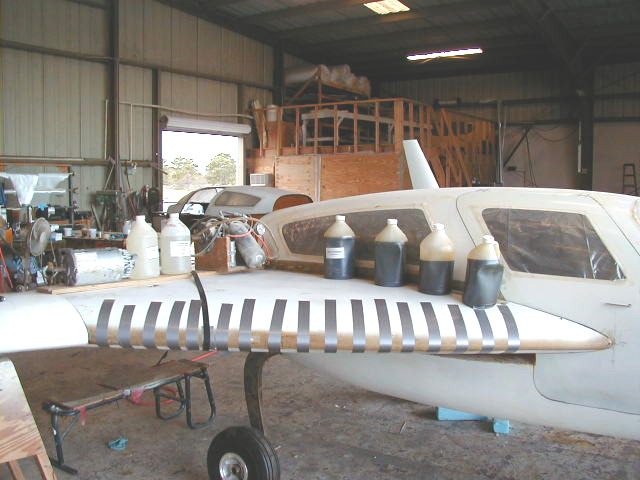
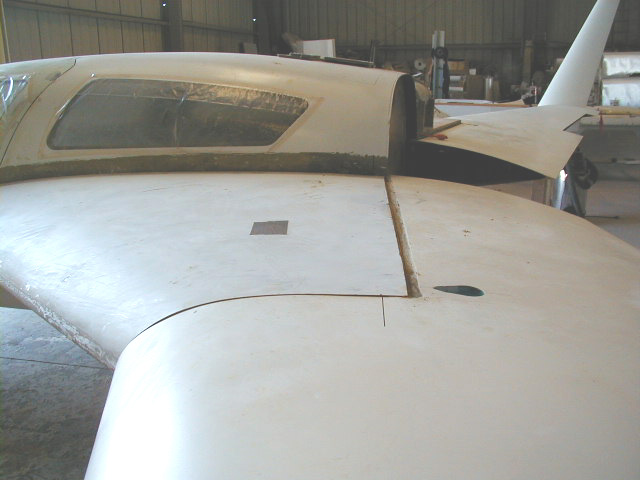
| Closeup of epoxy bead along upper edges of baffles, bulkheads and wheel well flange. | Pilot side strake installed! Note weights in particular along the back edge and strap and duct tape helping to hold the leading edge in positon. | Co-pilot strake installed!! | Strakes sealed!!! This photo illustrates the strake to wing fit. Fuel tank sealed over with tape for the moment to prevent contamination with shop debris. Wing surfaces will be later blended with strakes for final finish. |
|
|
|
|
|
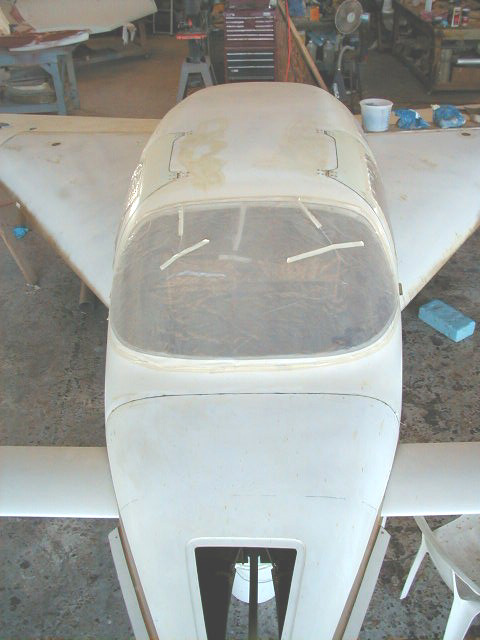
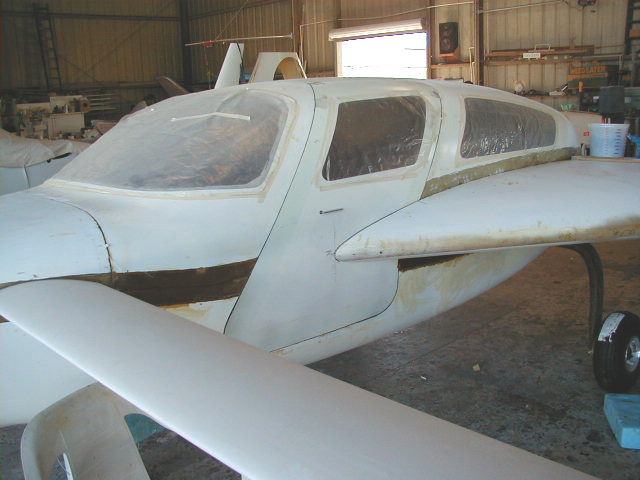
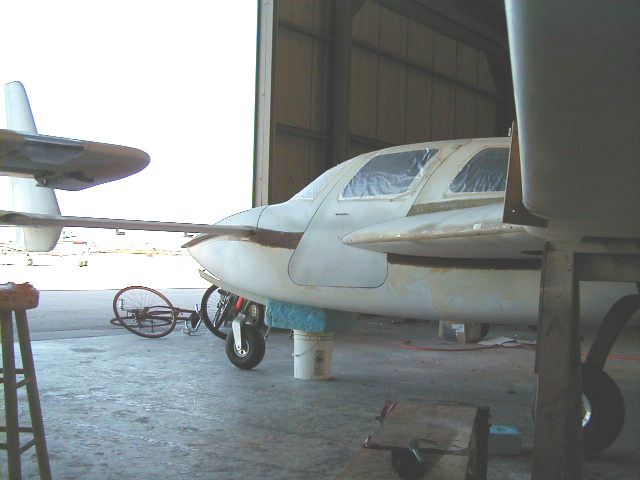
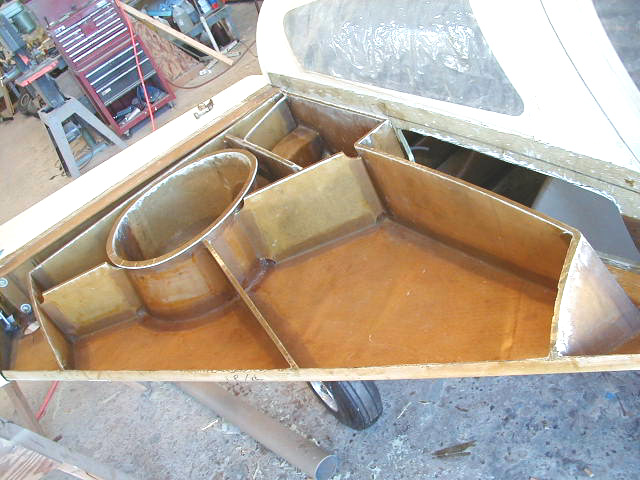
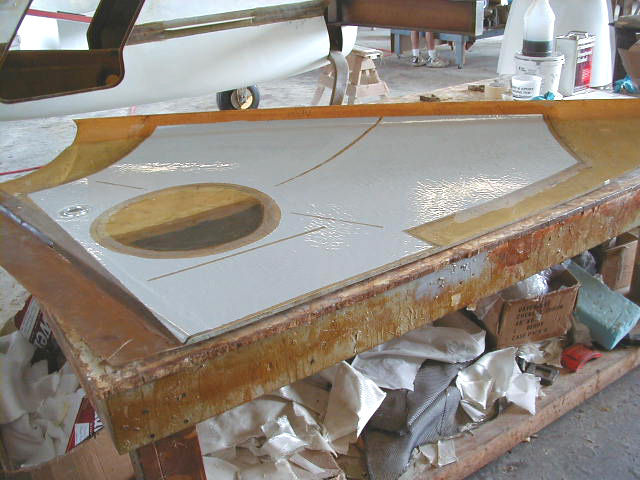
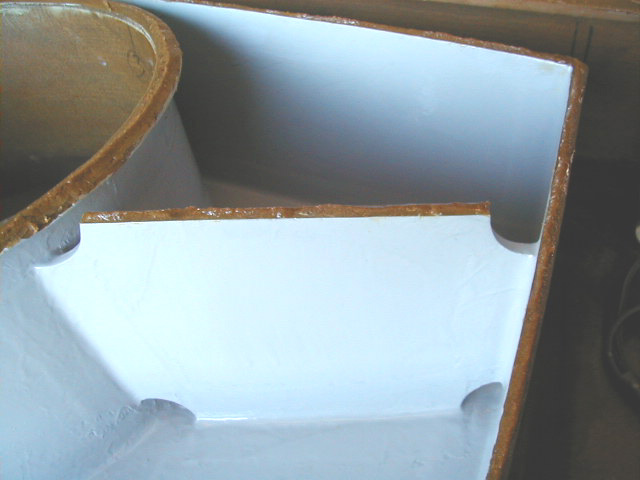
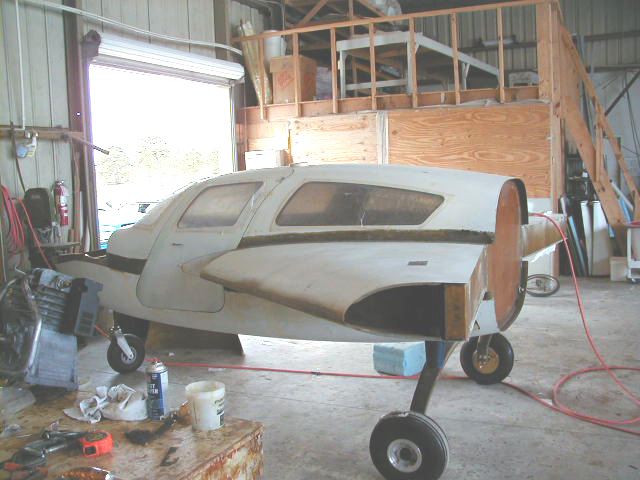
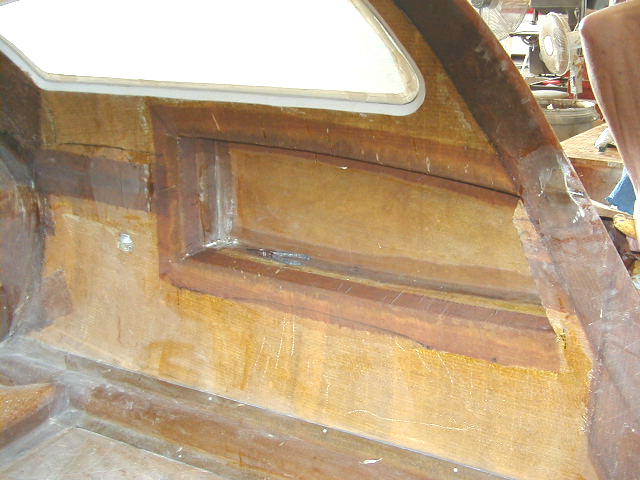
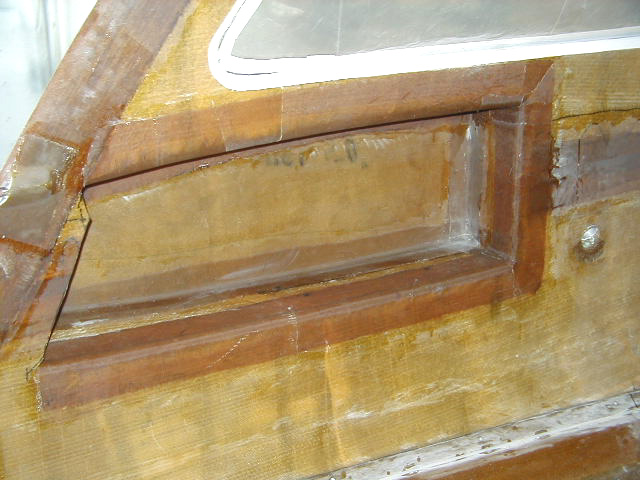
| The wings were kept in place for the entire strake building process to insure the best fit possible with wings of both upper and lower surfaces. This minimizes touch up work later. Wings now removed in preparation for further construction. Note that forward tip of strakes are now removed from door. | Another view of the now wingless plane. Looks kind of stubby now! The wings will be reattached in about 3 weeks after construction on roof completed. | Pilot strake baggage area finished. Note pair of pliers to give sense of depth. Also note hole for insertion of the Vision Microsystems Fuel Level System probe at left center of photo toward the rear of the aircraft. | Copilot strake baggage area with hole for fuel sender probe to right of photo. The outstanding Vance Atkinson fuel sight gauges will be installed at the rear of each of the strake baggage areas in place of the standard setup. |
|
|
|
||
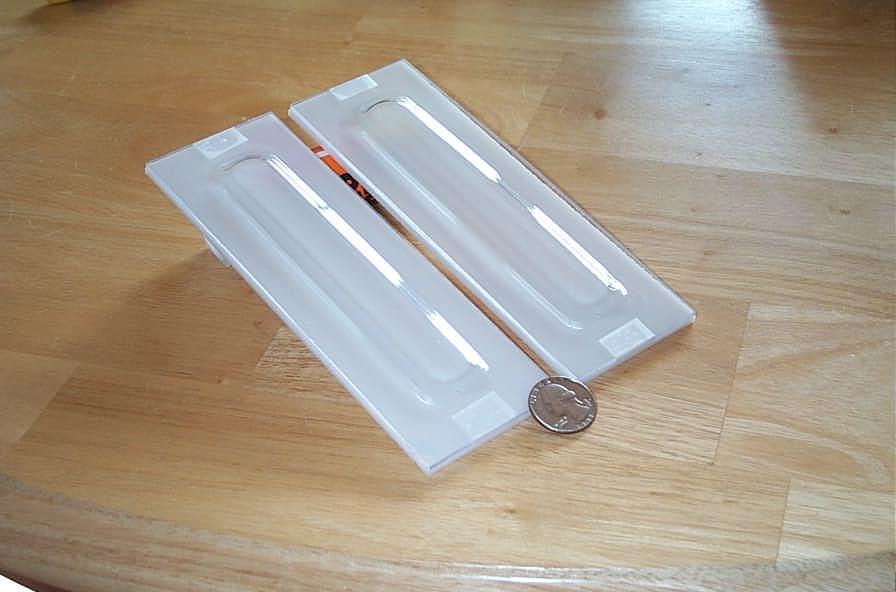
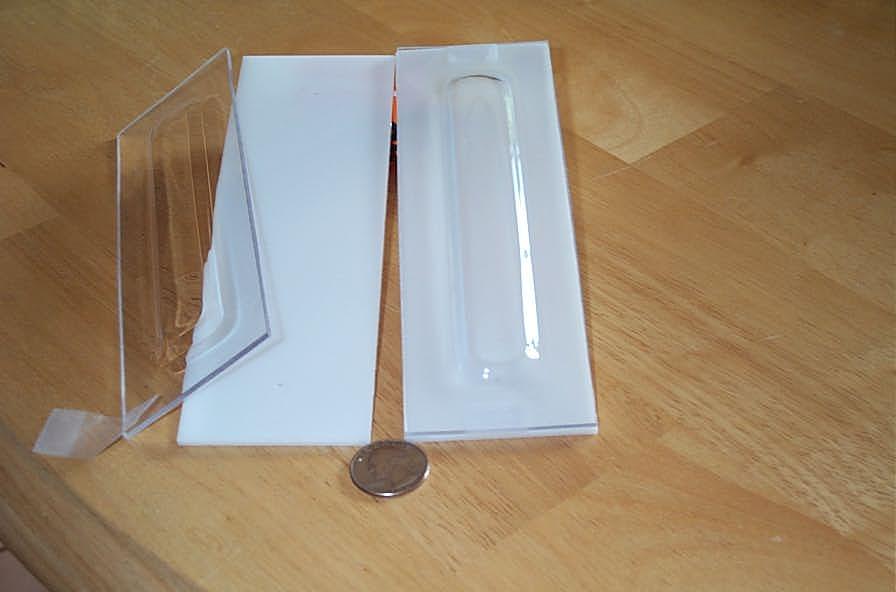
| Here is a photo of the fuel sight gauges sent to me by Vance Atkinson. Many Long EZ builders have spoken highly of these. | Another view of the Vance Atkinson Fuel Sight gauges |
 Comments, questions, and suggestions are welcome! email: rich@rguerra.com
This page visited times.